Ever walked into a meeting where the screen would not connect, the sound was too low, or the video kept freezing? It is as frustrating as it sounds, right?
An AV setup is the heart of any modern conference room. Whether you’re hosting team meetings, client presentations, or video calls with remote teams, a planned AV setup makes everything run smoothly.
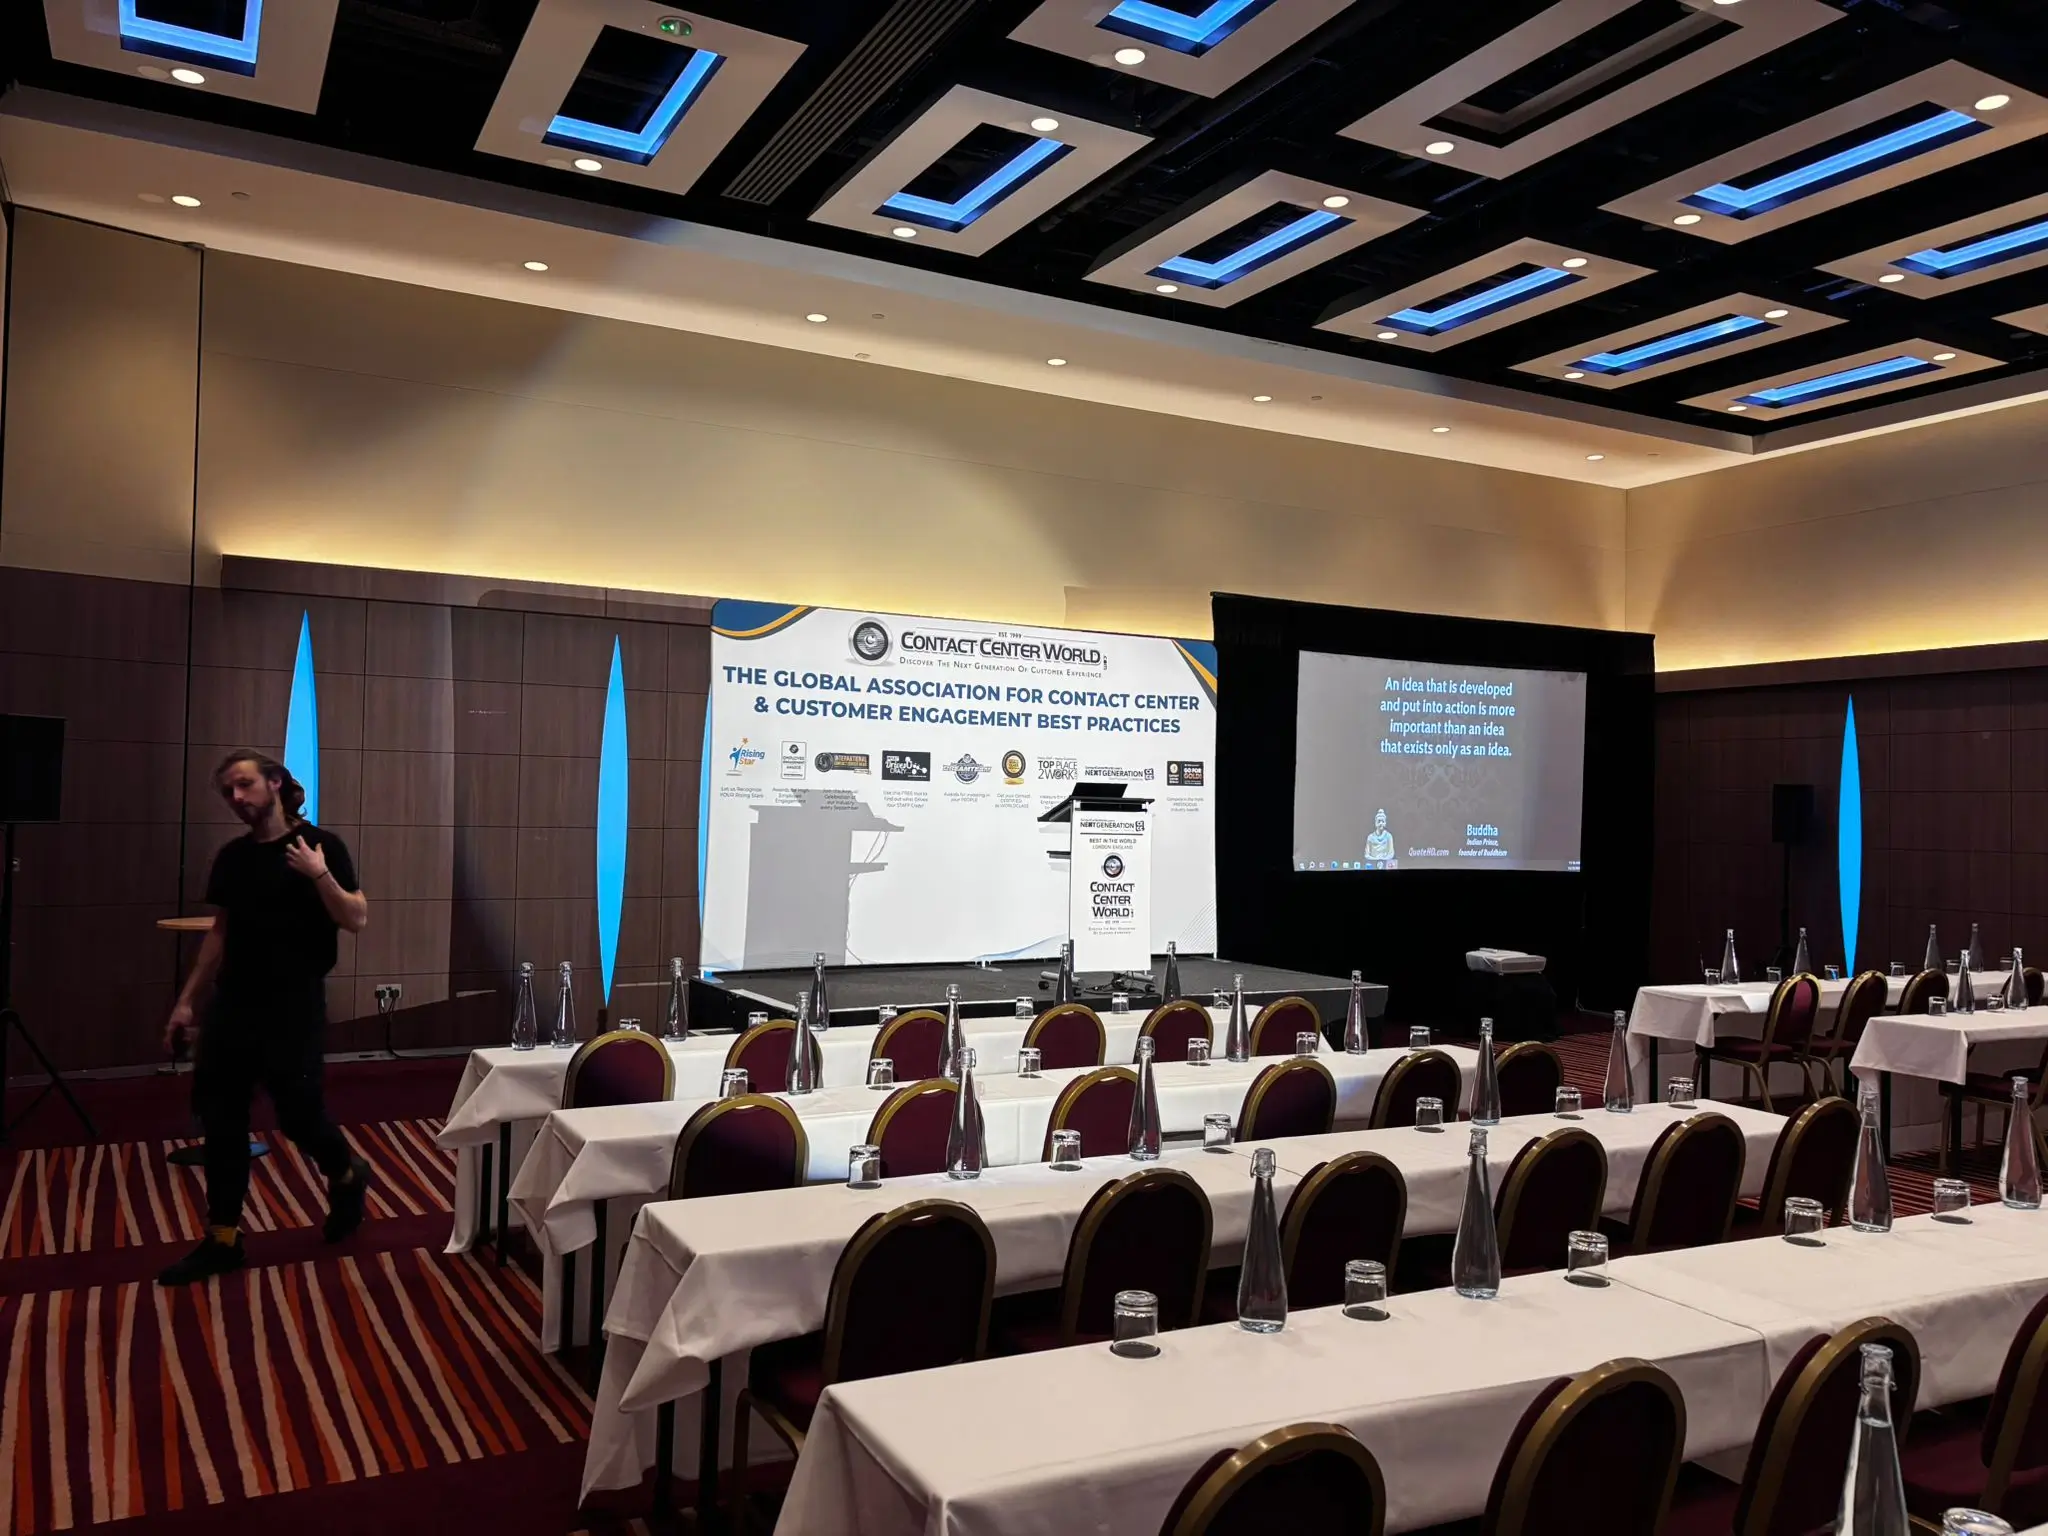
10 STEPS PLAN AV SETUP FOR CONFERENCE ROOM
So, how do you set up the perfect AV system for your conference room? Let’s break it down step by step. These are easy to follow and vital to creating a reliable and performing AV setup. So, let’s get started.
STEP 1: DEFINE YOUR CONFERENCE ROOM NEEDS
Before you start buying equipment, ask yourself the following:
- What is the purpose of the room? Small team meetings, large presentations, video calls?
- How many people will use it? (5-10? Or 20+?)
- Will remote participants join via video calls?
- Do you need interactive collaboration tools, such as touch screens or digital whiteboards?
- What type of content will you share? (presentations, videos, spreadsheets?)
Answering these questions helps you choose the right AV equipment without overspending on things you don’t need.
STEP 2: CHOOSE THE RIGHT DISPLAY SCREEN
Your display is the focal point of any conference room. It needs to be big enough for everyone to see clearly. Here are your options:
1. TV SCREENS( FOR SMALL-MEDIUM ROOMS
- Ideal for 5-10 people.
- Size: 55”- 75”.
- Supports HD/4K Visuals.
- Works well with HDMI, USB-C, or wireless connections.
2. PROJECTOR & SCREEN (FOR LARGE ROOMS)
- Best for 15+ people.
- Brightness: at least 3,000 lumens for clear visibility.
- Screen size: 100” or more.
- It works well for PowerPoint, spreadsheets, and video presentations.
3. INTERACTIVE WHITEBOARDS(FOR COLLABORATION)
- Touchscreen feature for real-time drawing and annotations.
- Allows multiple users to write and edit simultaneously.
- Works with Zoom, Microsoft Teams, and Google Meet.
Pro Tip: Always mount your screen at eye level to prevent neck strain and ensure everyone gets a clear view.
STEP 3: SET UP HIGH-QUALITY AUDIO EQUIPMENT
Nothing kills a meeting faster than bad audio. As nobody is interested in muffled voices, echoes, or background noise. Here is what you need:
1. MICROPHONES
- Tabletop Mics: Best for small and medium rooms, clear voice pickup.
- Ceiling Mics: Wireless, clutter-free, and great for large spaces.
- Lapel Mics: Ideal for presenters or speakers who move around.
2. SPEAKERS
- Built-in TV speakers? Probably not enough.
- Wall-mounted or ceiling speakers? Better for even sound distribution.
- External bluetooth or wired speakers? Great for larger spaces.
3. NOISE & ECO CONTROL
- Use acoustic panels on walls to absorb sound.
- Carpets and curtains reduce echo in large rooms.
STEP 4: CHOOSE THE BEST VIDEO CONFERENCING SYSTEM
If your meetings involve remote teams, you need a high-quality video conferencing system. Thus, try your best to get the following:
1. CAMERAS
- A basic webcam (1080p) works for small rooms.
- 4 K webcam with a wide-angle lens for big team meetings.
- Auto auto-tracking camera that moves with the speakers, keeping them in focus.
2. VIDEO CONFERENCING SOFTWARE
- Zoom rooms are a good option for simple, user-friendly meetings.
- Microsoft Teams Rooms is best for Office 365 users.
- Cisco Webex is great for large corporations.
3. BEST PRACTICES
- Position the camera at eye level for a natural look.
- Ensure the lighting is even and serves its purpose. And there are no harsh shadows.
- Test audio and video before every meeting.
STEP 5: PLAN FOR EASY CONNECTIVITY AND CAPABLE MANAGEMENT
Tangles, wires, and missing cables can ruin any important meeting. Keep things organised with:
1. WIRED CONNECTIONS
- HDMI & DisplayPort help better screen quality.
- USB-C & Thunderbolt for advanced laptops and other devices.
- Ethernet ports for a stable internet connection.
2. WIRELESS OPTIONS
- AirPlay & Chromecast for quick screen mirroring.
- ClickShare & Miracast for professional wireless presentations.
3. CABLE MANAGEMENT
- Under table trays, keep wires hidden.
- Cable organiser & velcro straps prevent tangles.
- Floor cable covers to avoid tripping hazards.
STEP 6: GET THE RIGHT LIGHTING AND ACOUSTICS
Poor lighting can strain eyes and create glare, while bad acoustics can lead to echoes. Here is how you can fix this:
1. LIGHTING TIPS
- Use soft LED lights to prevent glare on screens.
- Install dimmable lights for adjustable brightness.
- Avoid placing screens near windows to reduce reflections.
2. ACOUSTIC TIPS
- Add fabric panels or carpet tiles to reduce echo.
- Use curtains or acoustic foam on walls for better sound quality.
- Keep microphones away from air vents to avoid background noise.
STEP 7: ENSURE RELIABLE INTERNET & POWER SUPPLY
We all know that slow internet freezes video calls or anything streaming live. That also causes audio lag and frustration among the attendees. Thus, you should fix it with the following tricks:
1. STABLE INTERNET
- Wired Ethernet is more stable for video calls.
- A dedicated conference room router for improved speed.
- Backup Wi-fi network in case of failure.
2. POWER BACKUP
- Uninterruptible Power Supply (UPS) to prevent sudden shutdowns.
- Multiple power outlets for laptops, cameras, and mics.
STEP 8: TEST EVERYTHING BEFORE THE MEETING
Don’t wait until five minutes before the meeting to check if everything works perfectly. Also, do a quick test run:
- Check if the microphones and speakers are working.
- Test camera positioning and video clarity.
- Verify if screen sharing works smoothly.
- Run a mock video call to check its quality and delays or lags it shows.
STEP 9: TRAIN YOUR TEAM TO USE THE AV SETUP
A high-tech setup is used less if people don’t know how to use it. Thus, you may avoid confusion by:
- Hold a quick 15-minute training session.
- Providing a quick 15-minute training session.
- Placing instruction cards in the room for quick help.
- Providing a simple step-by-step guide on:
- How to connect a laptop.
- How to start a video call.
- What to do if something doesn’t work.
STEP 10: MAINTAIN AND UPGRADE
Even the best AV setup needs maintenance. Keep it working perfectly by:
1. REGULAR MAINTENANCE CHECKS
- Clean screens, microphones, and speakers.
- Update video conferencing software.
- Replace faulty cables before they cause issues.
2. UPGRADING EQUIPMENT WHEN NEEDED
- If your screen looks blurry, upgrade to 4 K.
- If the sound is unclear, invest in better microphones.
- If video calls lag, boost your internet speed.
FINAL THOUGHTS
A well-planned AV setup is the key to stress-free meetings. Thus, an excellent AV setup means:
- Crystal clear sound that everyone can hear.
- Sharp visuals for engaging presentations.
- Reliable video calls without lag or interruptions.
- Easy connectivity so no one wastes time troubleshooting.
Hence, by following the 10-step guide, you can ensure crystal-clear sound, sharp visuals, and reliable video calls. Don’t let technical issues derail your important discussions.
Need expert advice on AV setup? Get in touch with an AV specialist to find the perfect step for your needs.
